guides
How to Use Alignment Sticks: 5 Drills That Fixed My Game
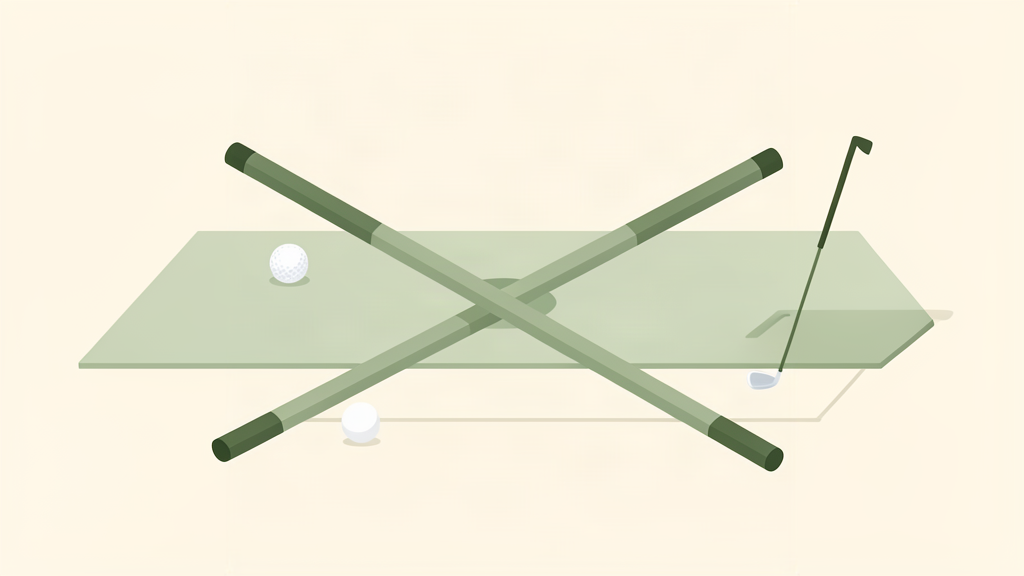
I have a confession. I owned alignment sticks for two years before I used them correctly. I laid one on the ground, aimed my feet at the target, and hit balls. My feet were aligned. My shoulders were aimed 15 yards right. I was reinforcing the exact problem I was trying to fix. I was not using alignment sticks. I was using a stick to practice bad alignment.
Alignment sticks are the cheapest training aid in golf. A pair of Tour Sticks costs $15. Callaway’s version costs the same. Generic fiberglass rods cost $10. Same material, different logo. Every PGA Tour pro carries them. Most amateurs own them and use them wrong.
I spent three months testing drills. These are the five that actually fixed things.
Drill 1: The Real Alignment Drill
This is the drill I was doing wrong for two years. The mistake most people make: they align their feet to the stick and ignore everything else. Your feet are one part of your alignment. Your shoulders, hips, and knees all need to be on the same line.
Setup: Lay one stick on the ground pointing at your target. Lay a second stick parallel to it, about 4 inches inside the first. Address the ball with your toes on the outer stick. Now look at your shoulders. They should be parallel to the inner stick, not the outer one. Your body aims parallel-left of the target, not at the target.
Time: 5 minutes, 3 times a week for 2 weeks. After that, a 30-second check before every range session.
What good looks like: On video from behind, your feet, hips, and shoulders form three parallel lines pointing slightly left of target. Your feet are slightly closed relative to your shoulders. That is correct.
Common mistake: Aiming your body at the target instead of parallel-left. The stick points at the target. Your body points left of it. If your shoulders aim at the target, you are open, and you will swing across the ball.
I wrote about this in detail in my 8 alignment stick drills article. This drill is the foundation. If you only learn one, learn this one.
Drill 2: The Slice-Killing Path Drill
The over-the-top move that causes a slice is invisible during a full-speed swing. You cannot feel it. The stick makes it visible.
Setup: Stick one rod in the ground at a 45-degree angle behind you, aligned with your shaft plane at address. The stick should be about 2 feet behind your right hip (for right-handed golfers). On the downswing, your club must travel under the stick. If you come over the top, your clubhead hits the stick.
Time: 10 minutes, twice a week. 10 slow practice swings first, then 10 balls with a 7-iron. Alternate swings with and without the stick.
What good looks like: Your club passes under the stick without touching it. The ball starts right of target and draws back. If you are still slicing, your club is still above the stick. Move it lower until you can swing under it.
Common mistake: Setting the stick too low. It should match your shaft plane at address. Too low and you will swing too flat to avoid it, creating a new problem. Too high and you will still come over the top without hitting it.
This drill fixed my slice in two weeks. I wrote about the PlaneMate 2.0 as a training aid for the same problem, but honestly, a $15 stick does 80% of what a $127 resistance band does. The stick gives you the same feedback: did your club travel on the wrong path? Yes or no. The stick answers instantly.
Drill 3: The Putting Gate Drill
A putter face that is 2 degrees open at impact misses the hole from 4 feet. You cannot see 2 degrees with your eyes. A stick gate tells you immediately.
Setup: Place two sticks on the ground, 6 inches apart, parallel to each other, pointing at the hole. The ball sits between them. Putt through the gate. If your face or path is off, you hit a stick.
Time: 5 minutes, 3 times a week. 20 putts from 4 feet, then 20 from 6 feet.
What good looks like: Zero sticks hit and 70% made from 4 feet. If you clip the inside of the gate, your path is outside-in. If you clip the outside, your path is inside-out. The gate tells you which direction your stroke is off.
Common mistake: Setting the gate too wide. Six inches is putter head width plus about an inch on each side. Wider than that and you can miss your line by 3 degrees without hitting a stick. You are not training anything.
I covered this drill and seven others in my alignment stick drills guide. The putting gate is the one I come back to most. My start line on putts inside 8 feet went from guessing to knowing in about three weeks.
Drill 4: The Low-Point Drill
Fat shots are the most expensive miss in golf. Twenty yards of lost carry, and the divot tells everyone you chunked it. Stop hitting fat shots by training your low point.
Setup: Lay a stick parallel to your target line, 2 inches behind the ball. Your divot must start after the stick. Hit the stick or take a divot behind it, and you are flipping your wrists or hanging back. The ball should be contacted first, then the ground, then the divot starts past the stick.
Time: 10 minutes, twice a week. 20 balls with a 7-iron, focusing on the divot starting on the target side of the stick.
What good looks like: Clean contact. The divot starts past the stick. The sound is a crisp thwack, not a thud. If you hear a thud, you hit the stick or the ground behind the ball.
Common mistake: Setting the stick too close to the ball. Two inches is the sweet spot. Closer and you will hit it on a good swing. Farther and there is no feedback. You need the stick close enough that a fat shot hits it, but far enough that a clean shot does not.
Drill 5: The Ball Position Drill
Ball position changes with every club. Most amateurs play every club from the same spot, and that spot is usually too far forward. A stick gives you a fixed reference point.
Setup: Lay one stick perpendicular to your target line, pointing at the ball. For a wedge, the ball is in the center of your stance. For a 7-iron, one ball forward of center. For a driver, inside your lead heel. The stick is your visual anchor for where center is.
Time: 30 seconds before every range shot. After two weeks of using the stick every time, ball position becomes automatic.
What good looks like: On face-on video, the ball is in the correct position for each club. You are not adjusting mid-swing or standing closer to the ball to compensate.
Common mistake: Using the same ball position for every club. Move the stick as you change clubs. A wedge from the driver position produces a low, thin shot. A driver from the wedge position produces a high, weak slice. The stick is a checkpoint, not a permanent fixture.
The Setup
You need one thing: a pair of alignment sticks. Tour Sticks are $15 to $25. Callaway’s version is $15 to $20. Generic rods are $10 to $15. Same fiberglass, different logo. This entire system costs $15. One sleeve of Pro V1s costs $55.
Every drill works in a backyard, garage, or living room with 8 feet of clearance. You do not need a driving range. You need a phone to film yourself and the willingness to look at your own swing, which is the hardest part.
If You Only Learn Three
Learn the real alignment drill first. Then the path drill. Then the putting gate. That is 15 minutes of practice that fixes 80% of what is wrong with your swing. For $15.
I still use my sticks every time I practice. The slice is gone. My putting start line is the best it has been in years. The cheapest training aid in my bag turned out to be the most useful one.
Where to Buy
- Alignment Sticks $10 to $25 at Amazon
As an Amazon Associate we earn from qualifying purchases.