guides
Golf Simulator Cable Management: The $98 Fix
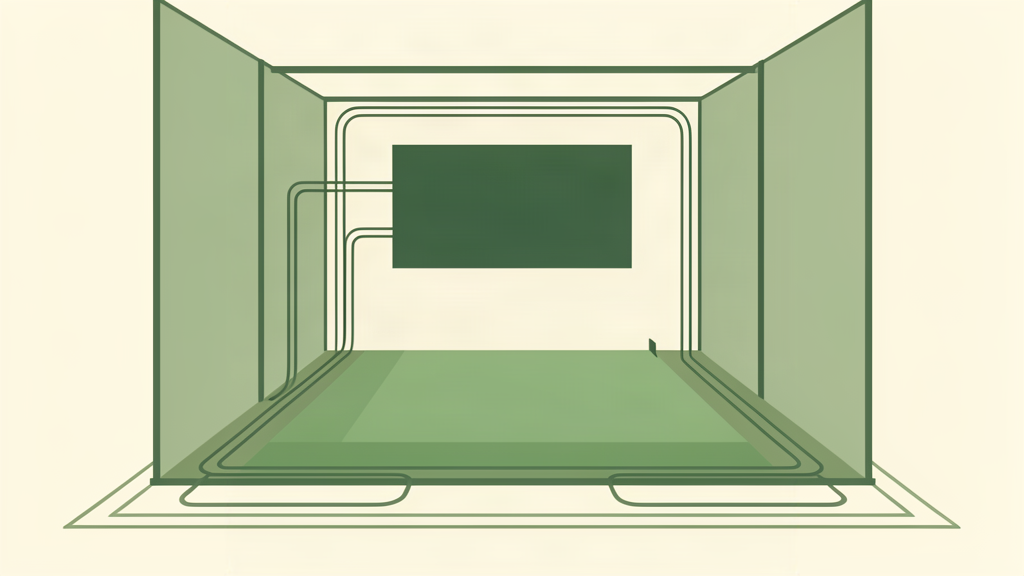
Simulator manufacturers design the hardware and forget the cables. Your $5,000 setup arrives in boxes. The launch monitor goes here, the projector goes there, the PC sits over there. The instructions tell you how to assemble the frame. They do not tell you what to do with the six power cords, two HDMI cables, one USB line, and an Ethernet cable that now snake across your floor like a spilled bowl of black spaghetti.
I built my simulator in a garage. The first week, I tripped over the projector cable twice. The second week, my kid tripped over it and almost pulled the projector off the ceiling mount. That was the moment I realized cable management is not cosmetic. It is safety, durability, and the difference between a setup that looks like a sim and one that looks like a crime scene.
Every cable in your build gets routed, concealed, or secured, and the job breaks down by cable type and mounting surface.
1. Wall and Ceiling Cables: D-Line Raceway ($27)
The D-Line 157-inch Cord Cover Kit is the standard solution for any cable that runs along a wall or ceiling. It comes with 10 self-adhesive channels, each 15.7 inches long, plus corner connectors, end caps, and T-junctions. You peel the backing, stick it to the wall, snap the cover shut over your cables, and paint it to match.
One kit covers about 13 feet of wall. Most simulator builds need two kits: one for the projector-to-power run along the ceiling, and one for the PC-to-launch-monitor run along the floor or baseboard. At $27 each, you are looking at $54 total for a clean build.
What does not work. The adhesive is strong on drywall and smooth surfaces. It is useless on textured ceilings, brick, or rough concrete. For those surfaces, use the included screw holes instead. Also, the 1.18-inch width fits about three standard power cords. If you are bundling a thick HDMI cable with a projector power cord and an Ethernet line, size up to the larger D-Line 2-inch channel.
Best for the main cable runs. Projector power, HDMI from PC to projector, USB from launch monitor to PC. Anything that follows a wall or ceiling line goes in a raceway.
2. Bundling and Securing: Velcro One-Wrap ($16)
Velcro One-Wrap ties are the single most useful cable tool in any simulator build. A 100-pack of 8-inch ties costs about $16. Unlike zip ties, they are reusable. You wrap a bundle of cables, decide the routing is wrong, unwrap, re-route, and re-wrap. Zip ties commit you to a layout on the first try.
Use them to bundle cables that share a path: the launch monitor USB and power cord, the PC peripherals, the speaker wires. Every 18 inches, add a wrap. The bundle stays tight and looks like one thick line instead of six individual snakes.
What does not work. Velcro One-Wrap is not a mounting solution. It bundles cables together but does not attach them to anything. You still need raceway, clips, or a cable tray underneath.
Best for bundling multiple cables inside raceway channels, or cleaning up the cable mess behind the PC and under the desk.
3. Under-Desk and Frame Routing: Adhesive Cable Clips ($8-$15)
Adhesive cable clips route individual cables along simulator frames, desk edges, and monitor stands. A pack of 30-50 clips costs $8-$15. Each clip has a peel-and-stick backing and a flexible arm that holds a single cable. Stick them to the underside of your hitting mat frame, the back edge of your desk, or the simulator enclosure uprights.
These are how you hide the launch monitor cable. Run it under the mat frame, held by clips every 12 inches. The cable disappears. Nobody trips on it. It takes 10 minutes and $8.
What does not work. The adhesive on cheap clips fails within months on metal frames exposed to garage temperature swings. Spend the extra few dollars on the name-brand clips with the thicker adhesive pad. Also, do not use these for heavy cables. A thick projector power cord will pop out of a small clip.
Best for low-profile routing along enclosure frames, under hitting mats, and behind PC desks.
4. Floor Cables: Cable Sleeve or Floor Cord Cover ($10-$20)
For cables that must cross open floor space, use a neoprene cable sleeve ($10-$15) or a rubber floor cord cover ($15-$20). The sleeve bundles multiple cables into one flat, dark tube that sits low on the floor. The rubber cover is a heavy channel with a sloped edge that you can walk on and roll equipment over.
If the cable crosses a walking path, use the rubber floor cover. It is rated for foot traffic and equipment carts. If the cable sits against a wall or behind equipment, the neoprene sleeve is fine and half the price.
What does not work. Do not use adhesive raceway on the floor. It will peel. Do not use zip ties on floor cables unless they are behind equipment and nobody walks there. A zip tie on a floor cable in a walking path is a trip hazard.
Best for the final 3-6 feet of cable that cannot follow a wall. The gap between your PC desk and the enclosure frame.
5. Power Brick Management: Cable Tray or Velcro Mount ($15-$25)
Launch monitors, projectors, and gaming PCs all come with external power bricks. Those bricks sit on the floor, gather dust, and get kicked. Mount them.
An under-desk cable tray ($15-$25) screws into the underside of a desk or a plywood board you mount behind the PC. The power bricks and excess cable sit inside the tray, off the floor, out of sight. If you do not have a desk, heavy-duty Velcro strips mount the bricks directly to the back of the enclosure frame.
One rule: power bricks generate heat. Do not wrap them in fabric or stuff them into an enclosed space with no airflow. The underside of a desk with open air on all sides is fine. A sealed box is not.
What I Would Actually Buy for a Full Sim Build
The complete cable management shopping list for a standard garage simulator setup with a projector, launch monitor, PC, and speakers:
- Two D-Line 157-inch raceway kits ($54): one for the ceiling projector run, one for the floor-to-PC run.
- One Velcro One-Wrap 100-pack ($16): for bundling inside the raceways and behind the desk.
- One adhesive cable clips pack ($10): for routing the launch monitor cable along the enclosure frame.
- One rubber floor cord cover ($18): if any cable crosses a walking path.
Total: $98. That is 2% of a $5,000 simulator build, and it is the difference between a setup that looks finished and one that looks like you are still unpacking.
Where to Buy
- D-Line 157in Cord Cover Kit $27 at Amazon.
- Velcro One-Wrap Cable Ties (100-pack) $16 at Amazon.
- Adhesive Cable Clips $8-$15 at Amazon.
- Neoprene Cable Sleeve $10-$15 at Amazon.
- Rubber Floor Cord Cover $15-$20 at Amazon.
- Under-Desk Cable Tray $15-$25 at Amazon.
Plan your cable routes before you bolt anything to the ceiling. Measure the distance from every device to the PC and projector. Buy the raceway, clips, and ties before the build starts. The $98 you spend on cable management is the best value in the whole simulator because it is the only part your guests will notice, and the only part you will trip on if you skip it.